Tired of monolithic WordPress? Are your front-end developers frustrated with the limitations of monolithic WordPress and constrained by PHP templates? Headless WordPress could be the answer you’re looking for.
Introduction
In this post, we’ll look at what headless WordPress is, how to monitor it with SolarWinds® Papertrail™, and how to build your own headless WordPress setup with a statically generated Next.js front end. But first, what exactly is headless WordPress?
What Is Headless WordPress?
Headless technologies are part of the Jamstack, a set of technologies (JavaScript, APIs, and Markup) designed to let you build fast, scalable, and secure websites. A headless content management system (CMS) allows the content (stored and managed in the CMS) to be decoupled from the presentation layer (the head). As such, headless WordPress refers to the use of WordPress APIs for content management in conjunction with a custom front end.
WordPress is traditionally used as a monolithic CMS, which is a CMS designed to store, manage, and present your content. WordPress typically does this through the use of collections of PHP/HTML template files called themes. These templates are then rendered on the WordPress server before being delivered to the client. This rendering occurs each time a browser makes a request to your website, causing increased time to load and requiring a more powerful server.
In contrast, headless WordPress allows you to use any front-end framework (such as React or Vue.js). Your team is no longer constrained by themes and templates and has the creative freedom to design and develop at will. For performance, a technique called Static Site Generation allows you to pre-render your pages at build time. This allows your rendered HTML files to be deployed anywhere—even at the edge on your CDN—enabling lightning-fast load times and limitless scale. The scale and reach of your site are no longer tied to the size of your WordPress server. Frameworks such as Next.js for React and VuePress for Vue.js allow you to easily develop statically generated sites using a familiar JavaScript framework.
While developing your custom front end, headless WordPress allows you to take advantage of the robust content management and familiar writing interface of WordPress. Your authors and content creators can work with the same WordPress server with which they’re familiar, and your development team avoids reinventing the wheel.
When moving to a headless approach, we want to address the increased system complexity by using automated logging and monitoring. For the WordPress server, Papertrail provides a robust, always-on, and searchable log monitoring solution.
A Quick Refresher on Papertrail
Papertrail provides centralized log management for your entire suite of applications. Logs are aggregated, organized, and searchable, which means you no longer need to contact the infrastructure team and get someone to log into a particular server just to see what’s going on. Instead, you can monitor your entire suite of applications in one place. The more systems and logs you feed into Papertrail, the more useful it becomes.
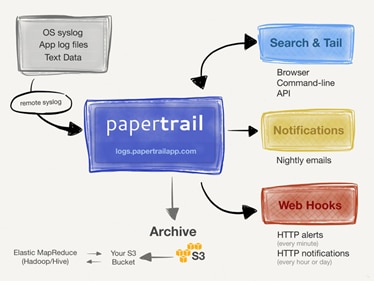
From there, you can search and analyze those logs and set up automated notifications and webhooks to report on them. Additionally, you can set up archiving into an S3 bucket.
For the purposes of this article, the main logs we want to monitor are those from the WordPress server. The WP Activity Log plug-in provides integration between WordPress, and Papertrail is the easiest way to set this up.
Now that we’ve covered the concepts, let’s walk through setting up a real headless WordPress deployment.
How to Set Up Headless WordPress
To see it all in action, we’ll be deploying a fully functioning headless WordPress setup. First, we’ll set up the WordPress server and Papertrail. Then, we’ll create a simple Next.js front end and deploy it as well.
WordPress and Papertrail Setup
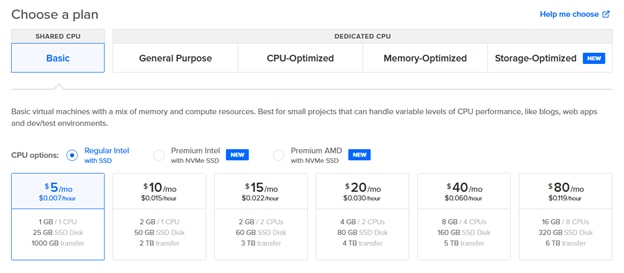
First, you’ll need a WordPress server. If you don’t have one already, I recommend Digital Ocean’s 1-Click deployment. For testing purposes, go ahead and select the cheaper options:
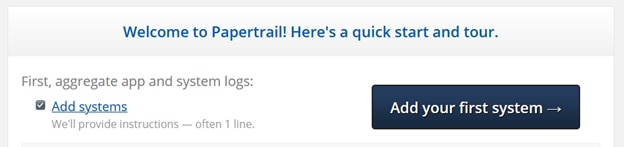
Next, you’ll need a Papertrail account (if you’re already a Papertrail fan, you can skip down to the WP Activity Log setup). Once you’ve signed up for Papertrail, confirmed your email, and signed in, click “Add your first system”:
Select any system—what we want is the URL.

Make note of the URL after “Your logs will go to…” and save it for later. This is your log destination URL.
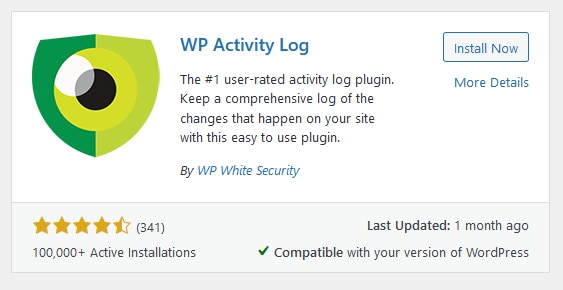
Next, let’s get the WP Activity Log plug-in installed onto your WordPress server. Log in to the admin panel, go to Plug-Ins ⇾ Add New, and search for “WP Activity Log.” Install and activate the plug-in.
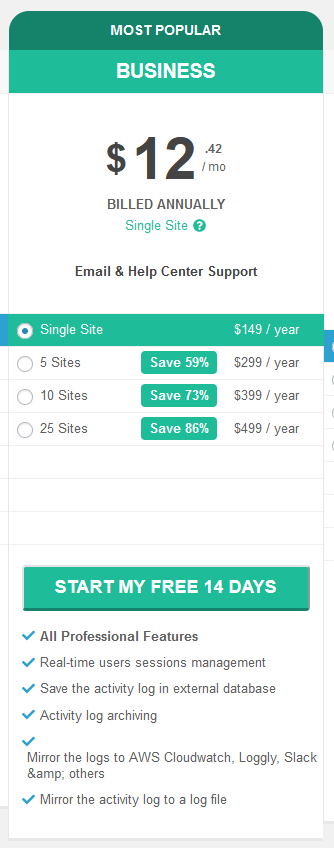
Click on “Free Premium Trial,” and choose the “Business” version.
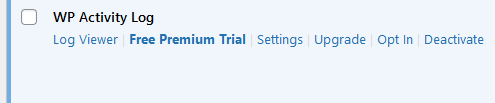
No credit card is required!
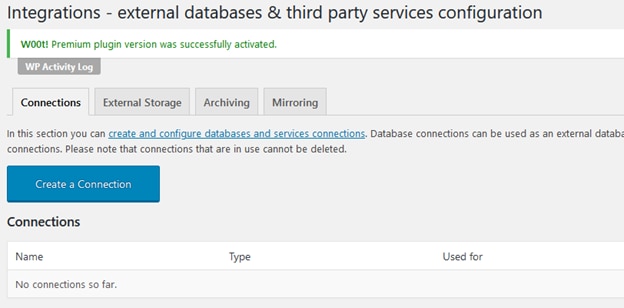
Once you’ve received the download link for the premium version, download it. Returning to your WordPress server, upload it and activate it.

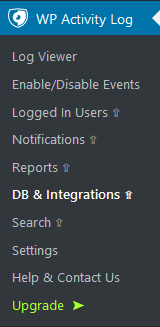
Now, we’re ready to set up the integration. Head to WP Activity Log ⇾ DB & Integrations:
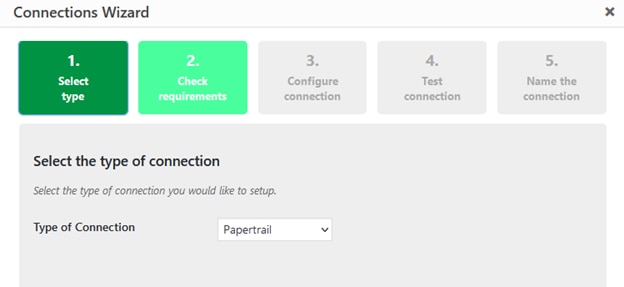
Select Papertrail as the type of connection:
Paste in your log destination URL from earlier:
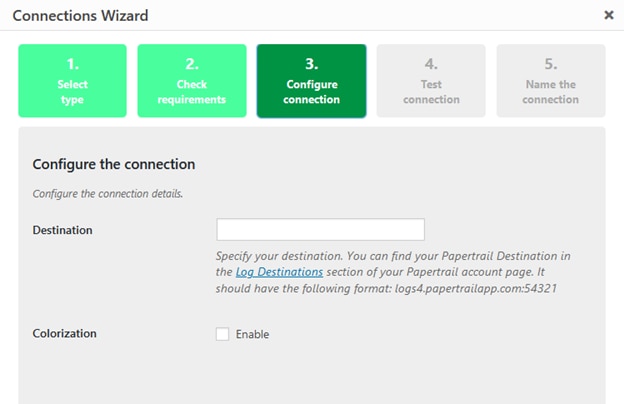
Enter a name and save the connection. Next, head to the “Mirroring” tab:
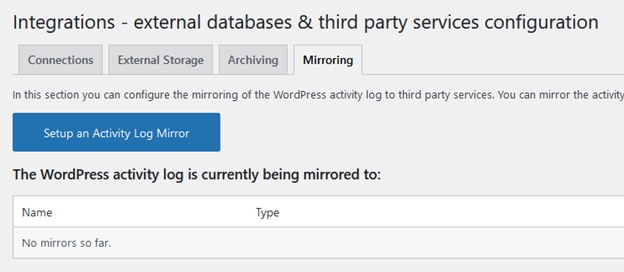
Set up mirroring to the connection you just created:

This tells the plug-in to mirror every event in the activity log to the log destination. Now head back to Papertrail and you should see your system show up:
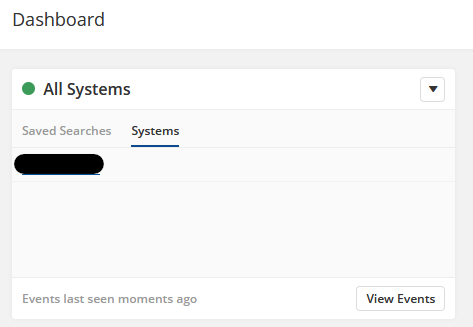
And clicking on the system, you should see the test message from the plug-in:

Go ahead and add a featured image to Hello World and add another post. You can use https://unsplash.com/ for the images.
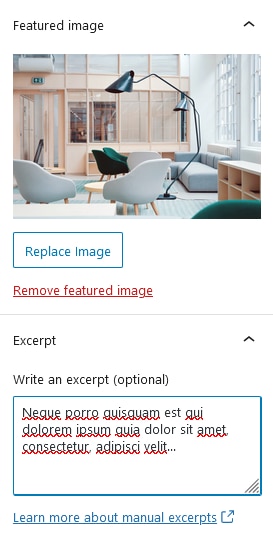
Also, try setting an excerpt! We’ll use all this later with our custom front end.
Everything in the Log Viewer for WP Activity Log will be mirrored in Papertrail. As we continue through this tutorial, check back to see those events show up. As you do, make sure to check out the search bar and other options (including the “velocity graph”) at the bottom.
Next.js and Headless WordPress
For our custom front end, we’ll be using the cms-wordpress example project from the Next.js team and deploying it (for free!) to Vercel.
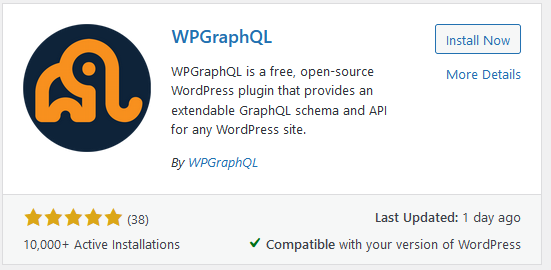
First, on our WordPress server, we’ll need to install and activate the “WPGraphQL” plug-in:
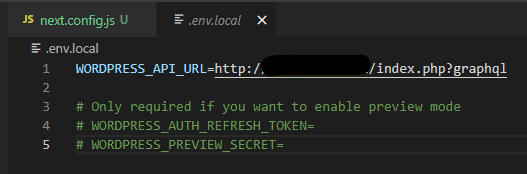
In the plug-in settings, make note of your endpoint:

For some reason, on my installation, this given endpoint URL was incorrect. The actual URL was
http://<server IP>/index.php?graphql.
Set up your local project folder by using either npx or yarn:
npx create-next-app --example cms-wordpress cms-wordpress-app
# or
yarn create next-app --example cms-wordpress cms-wordpress-app
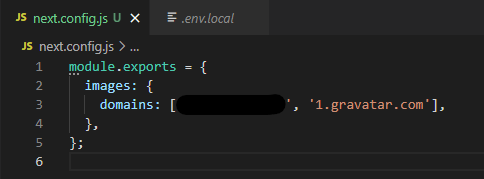
Now, add a next.config.js file. Configure it to allow Image Optimization with the IP address or domain of your WordPress server as well as the 1.gravatar.com domain.
Commit and push this to a GitHub repository. Let’s get this deployed!
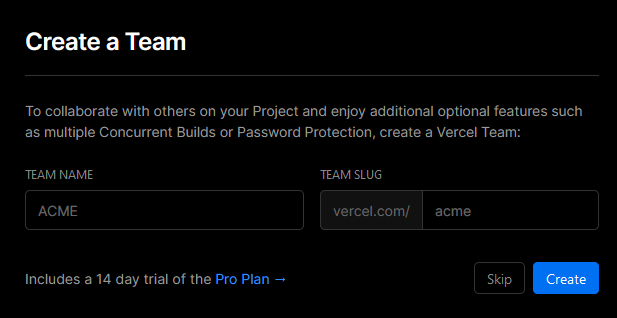
Create a new Vercel account and log in. Then, connect GitHub and create a new project with your GitHub repository. Skip creating a team:
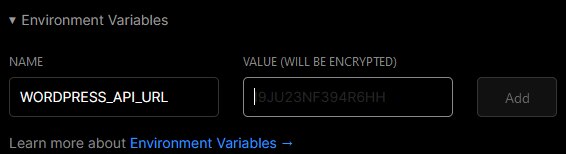
Add an environment variable called WORDPRESS_API_URL, setting it to your API URL:
Click on “Deploy.” In about a minuteC, you should see your new statically generated site:
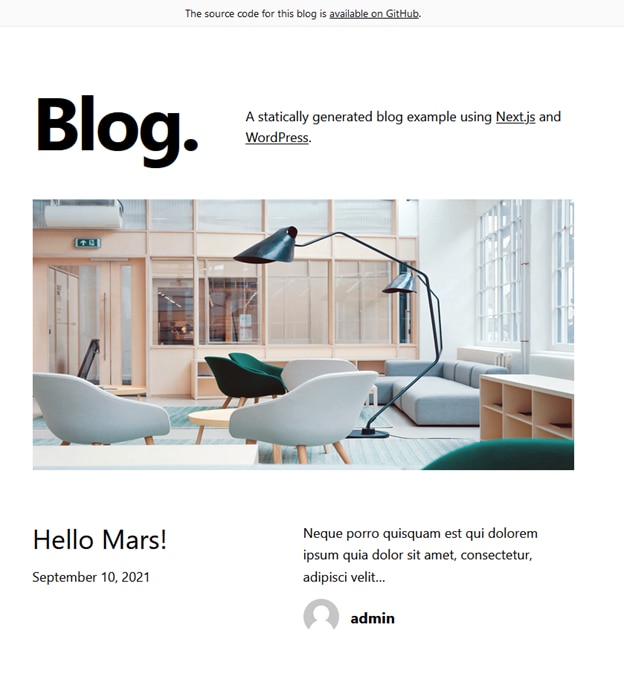
You’ve successfully created a headless WordPress server monitored with Papertrail and deployed a custom Next.js front end. Nice work!
Wrap-Up
In this post, we introduced key concepts around headless WordPress, including custom JavaScript front ends, static site generation, use of the WordPress APIs, and server monitoring and log aggregation. Then, we set it all up with a fully functioning WordPress server, Papertrail log aggregation, and custom Next.js deployment.
With this foundation, you’re ready to build your high-performing, scalable, and fully custom headless WordPress website. Give it a try and let us know what you think.